Install Application
Okta
Manual application setupWe're highly recommend to install application from the Okta Integration Network but in some cases it's possible to manually create your own SAML application and configure it by yourself. Please reach out our Support Team to provide you help with it.
Step 1.
Go to your Okta Application Administration dashboard. Note, that you must have application administration rights.
Next, add a new application and search for "Encoding.com" integration.
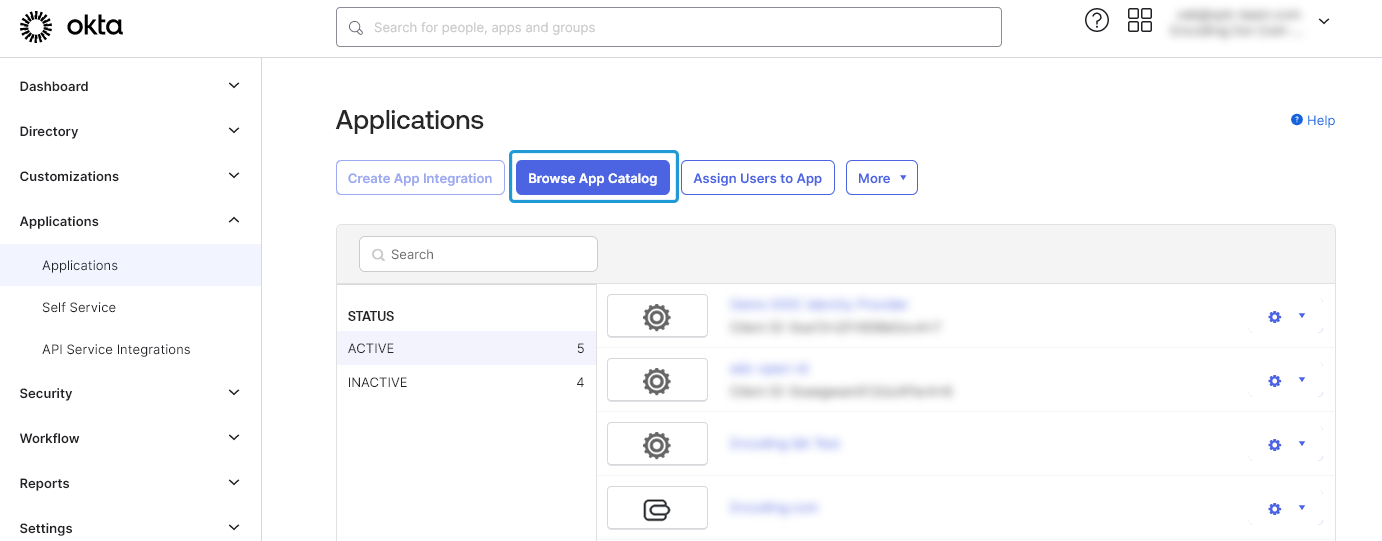
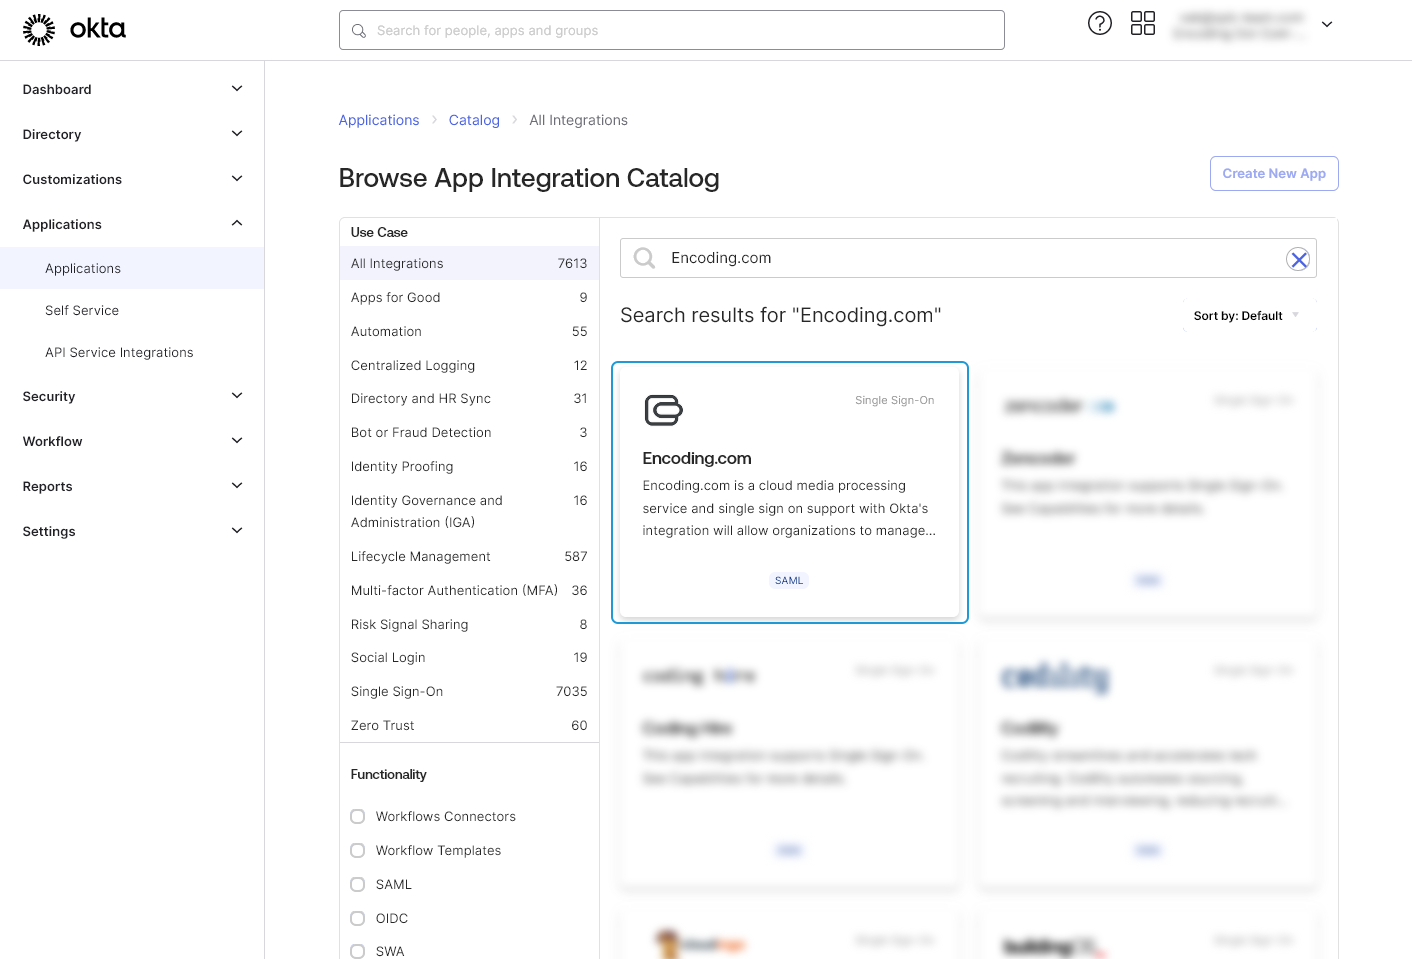
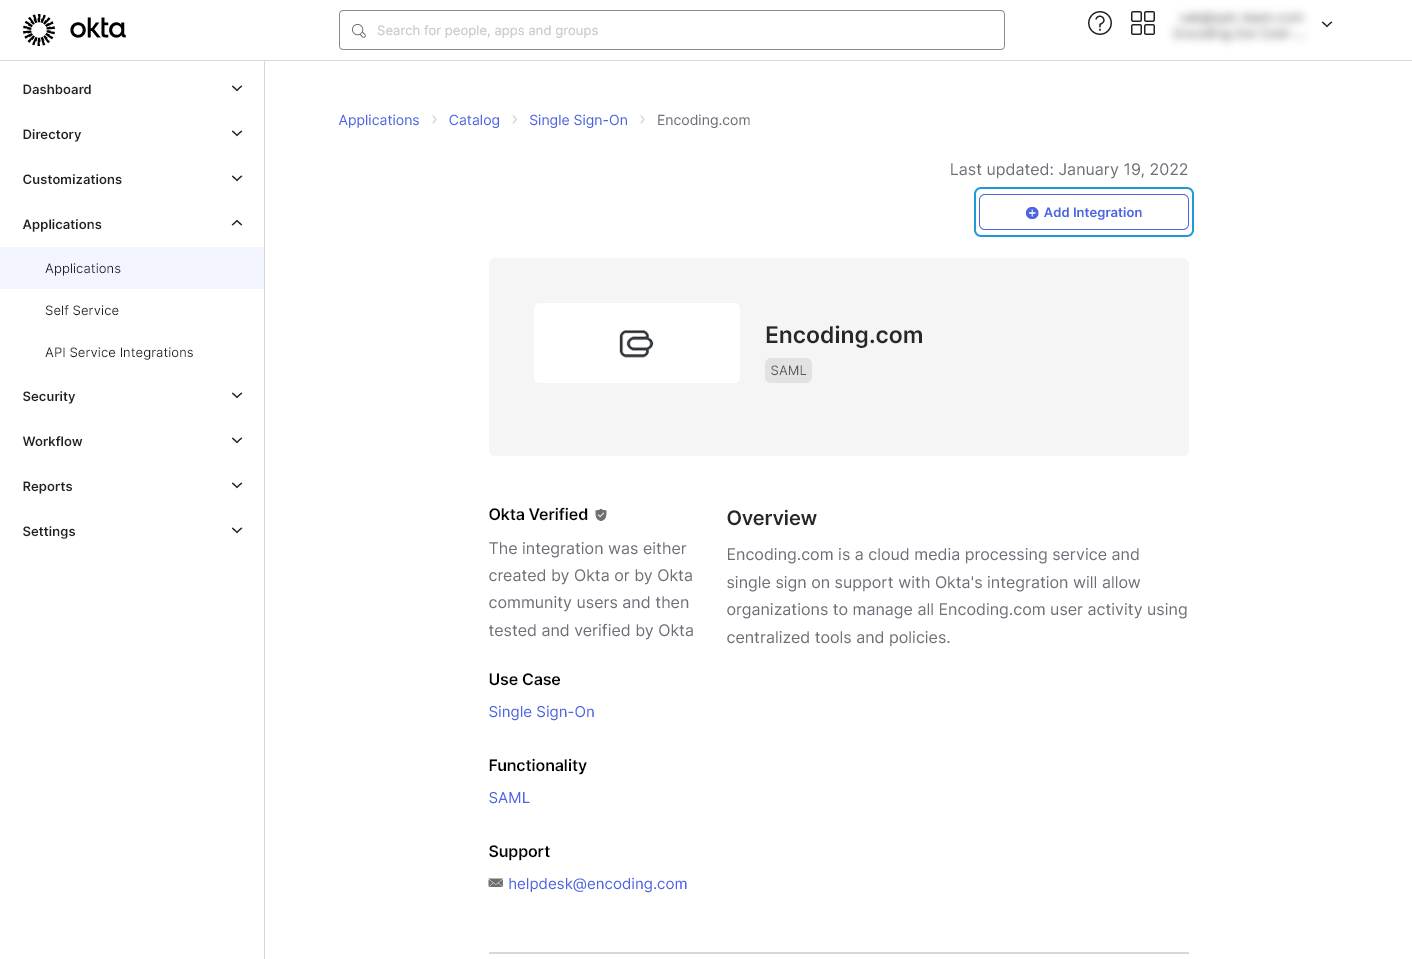
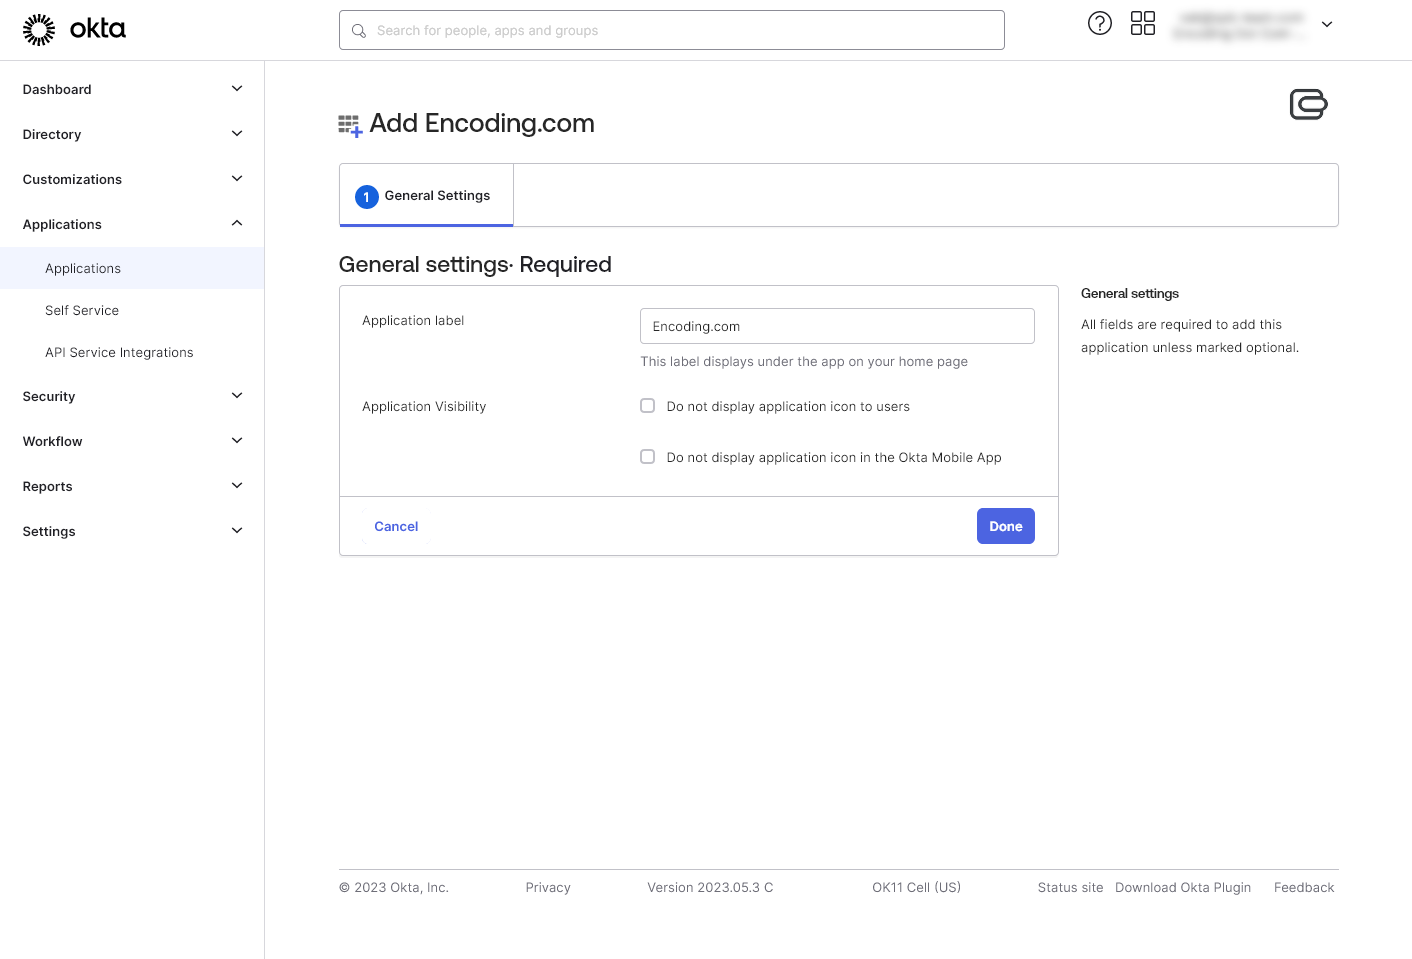
Next, click on the "Add Integration" button and then customize your App installation.
Step 2.
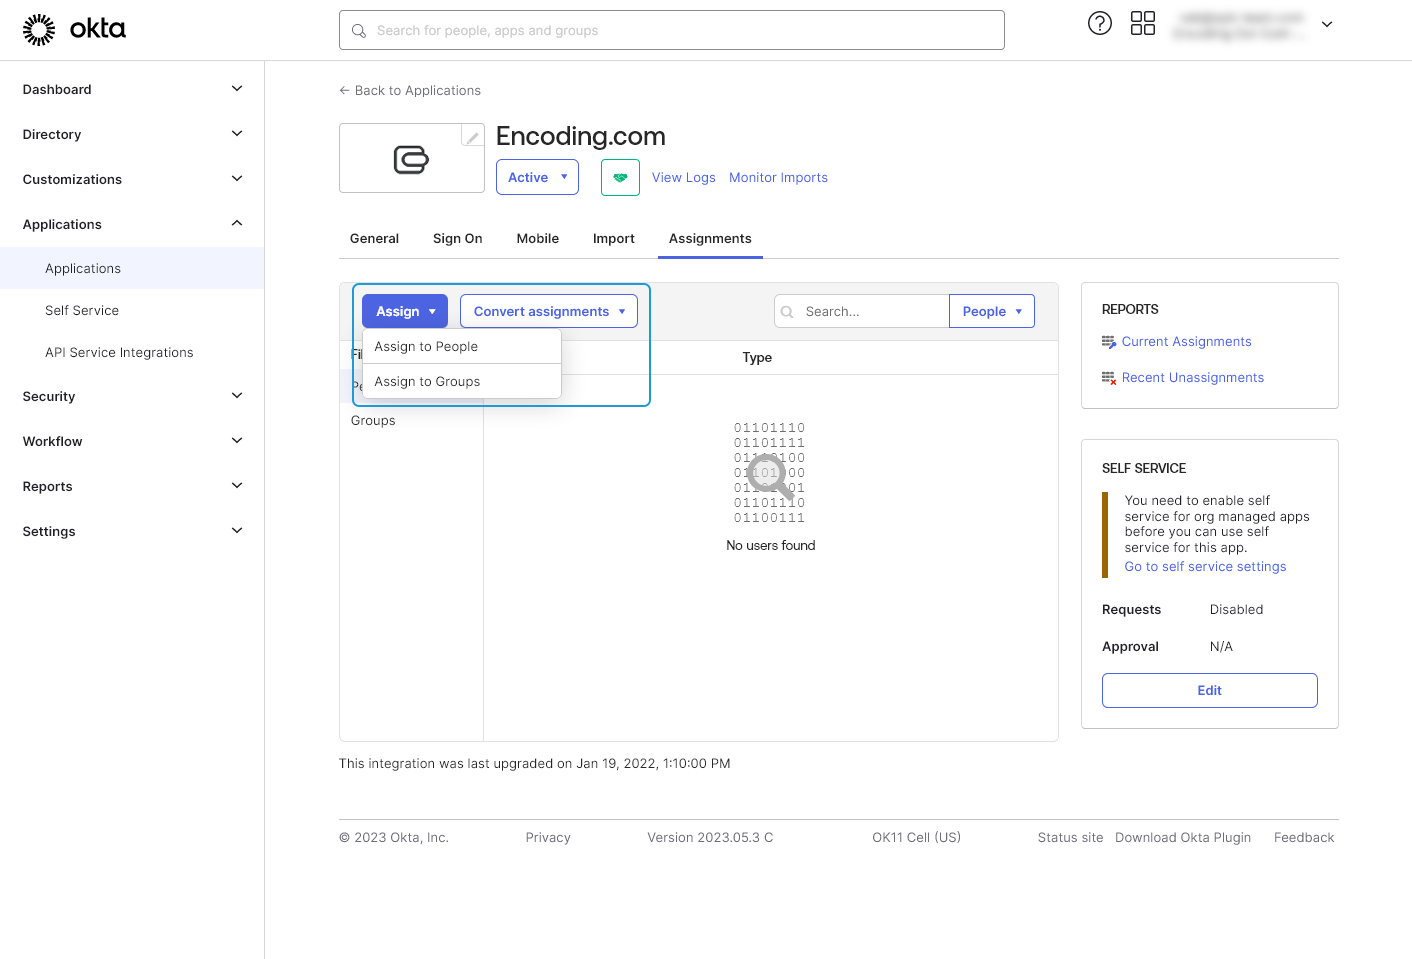
Assign users from your Directory to the installed App, or assign one of the groups.
NoteThe user's username in Okta organization must be the same as in Encoding.com.
Ping Identity
Pre-registered applicationFor now it's only available to manually install SAML application for Ping Identity provider.
Step 1.
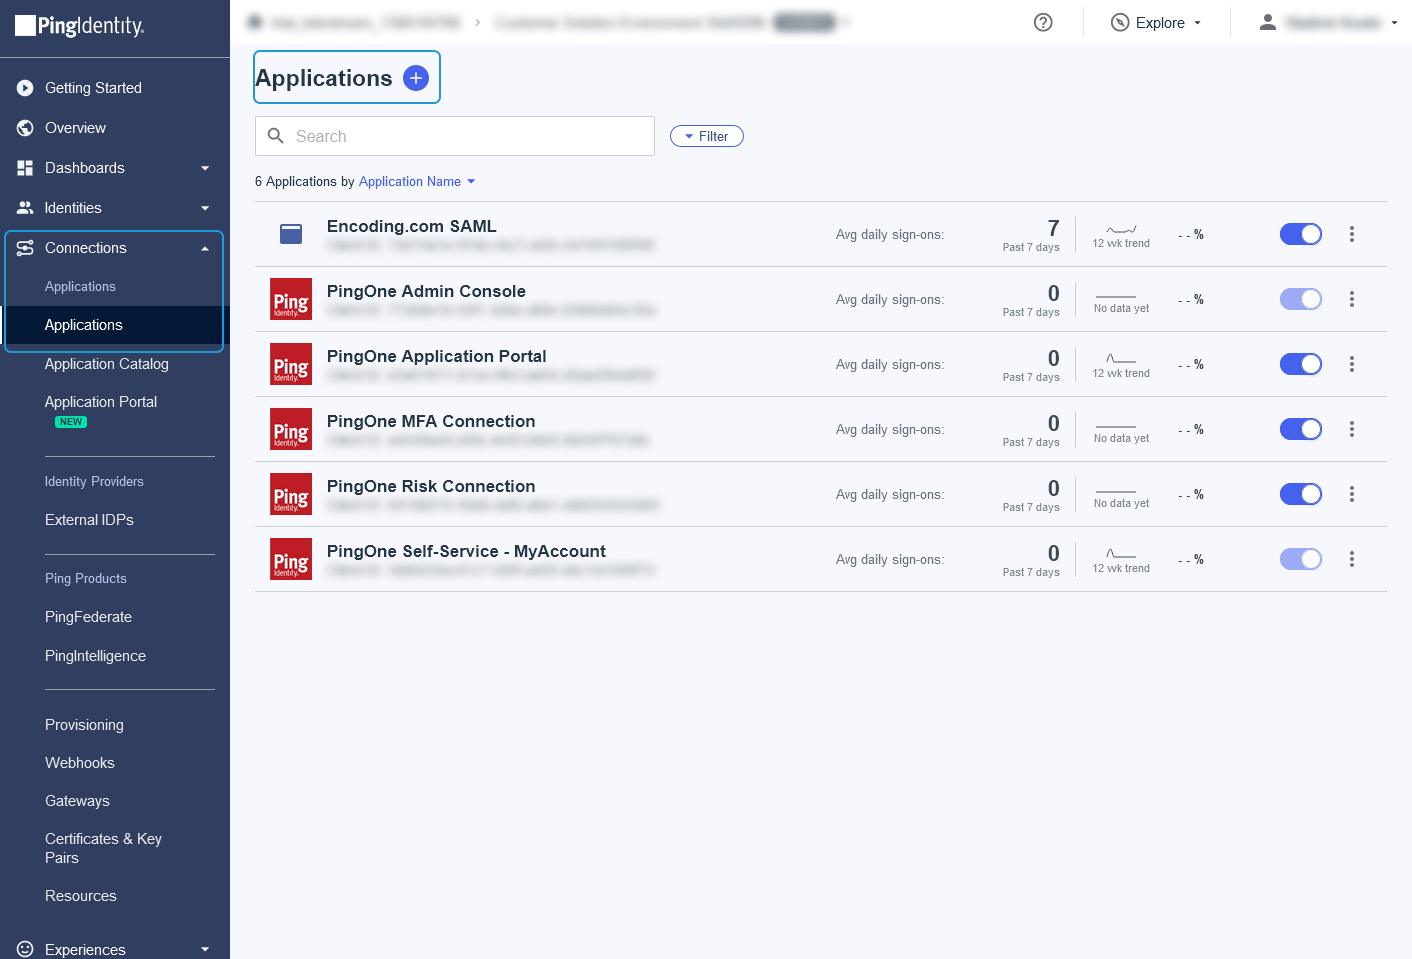
Go to your Ping Identity Application Administration page in the Connections section. Note, that you must have application administration rights.
Next click on the "Plus" button next to the Applications header.
In the opened dialog please fill these fields:
- Application Name (required) Should be unique.
- Icon (optional) You can download logo image from here https://files.readme.io/b907067-logo-small.png
- Application Type Must be "SAML Application"
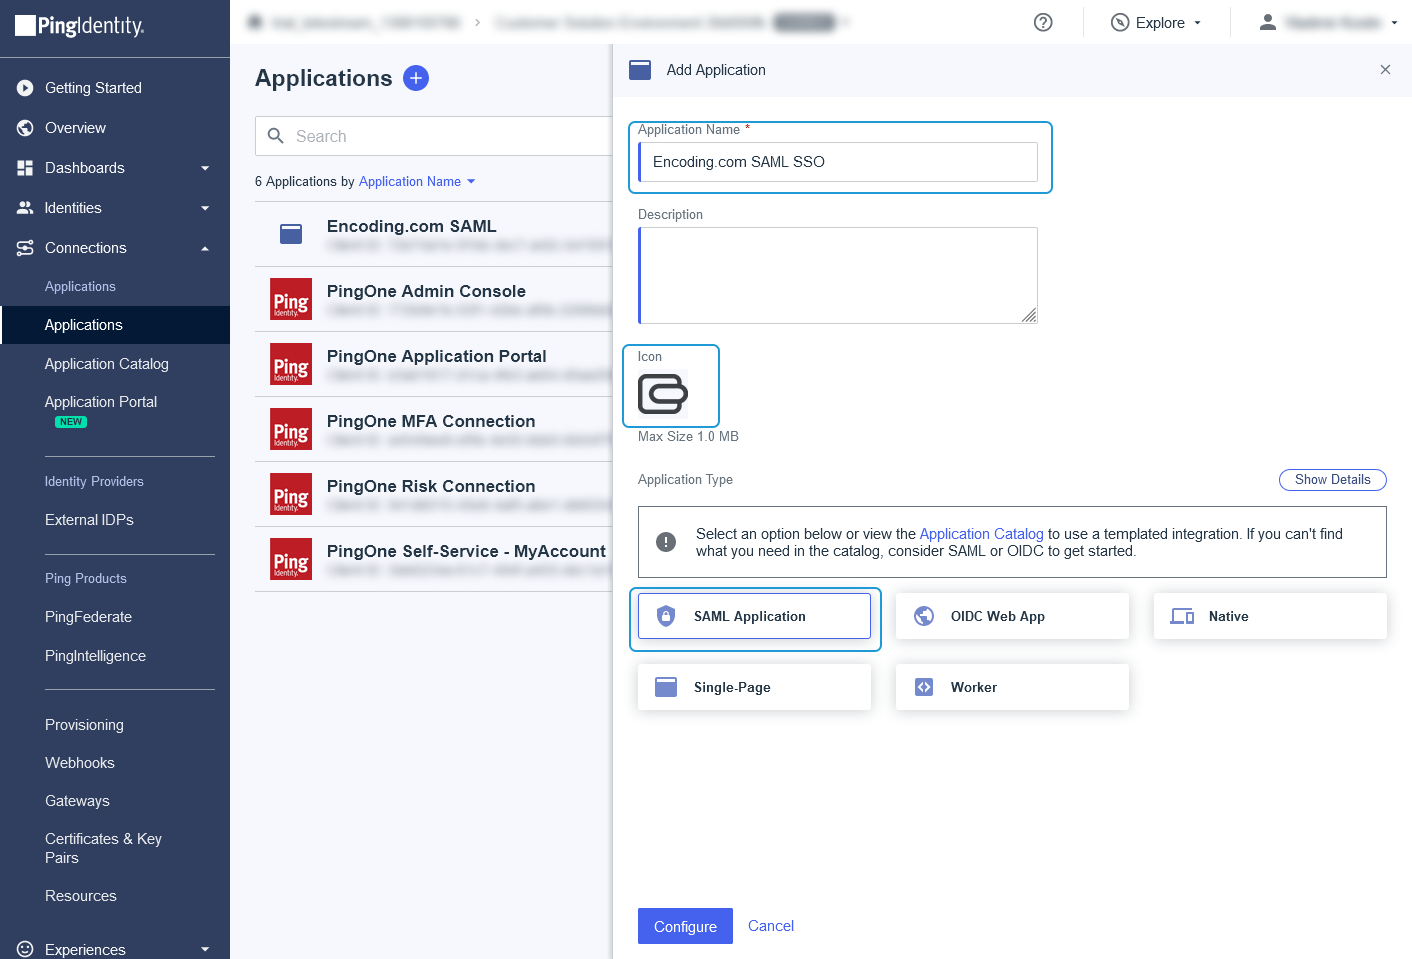
Next click on the "Configure" button.
In the new dialog set "Provide Application Metadata" parameter to the "Manually Enter" and enter these values for required fields:
- ACS URLs: "https://manage.encoding.com/saml-login.php"
- Entity ID: "https://manage.encoding.com/saml-login.php" (this value will be changed lately)
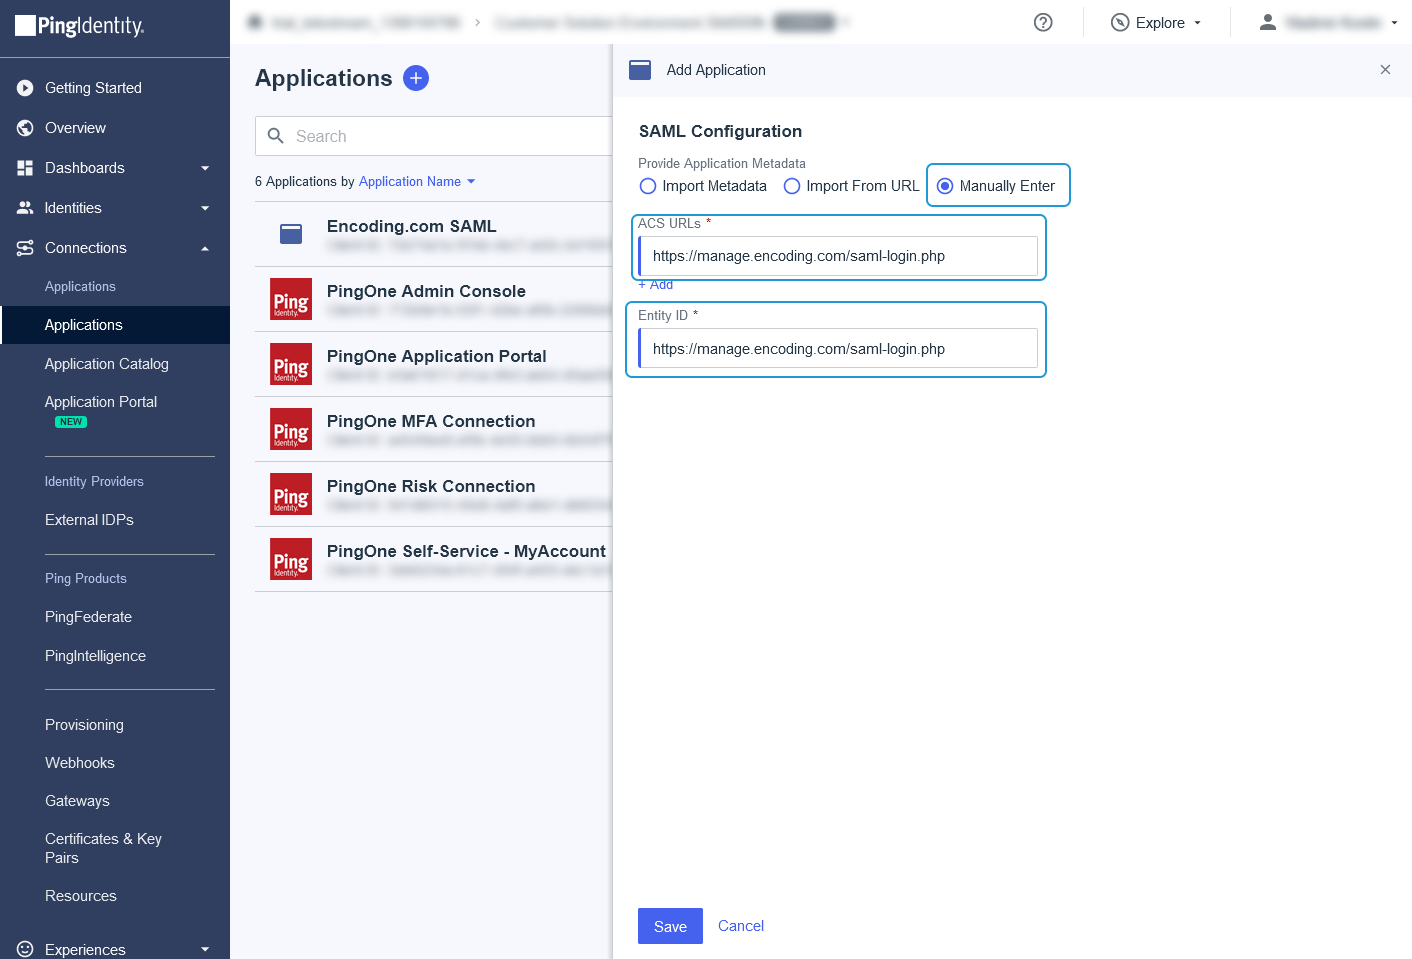
And finally click on the "Save" button
Step 2.
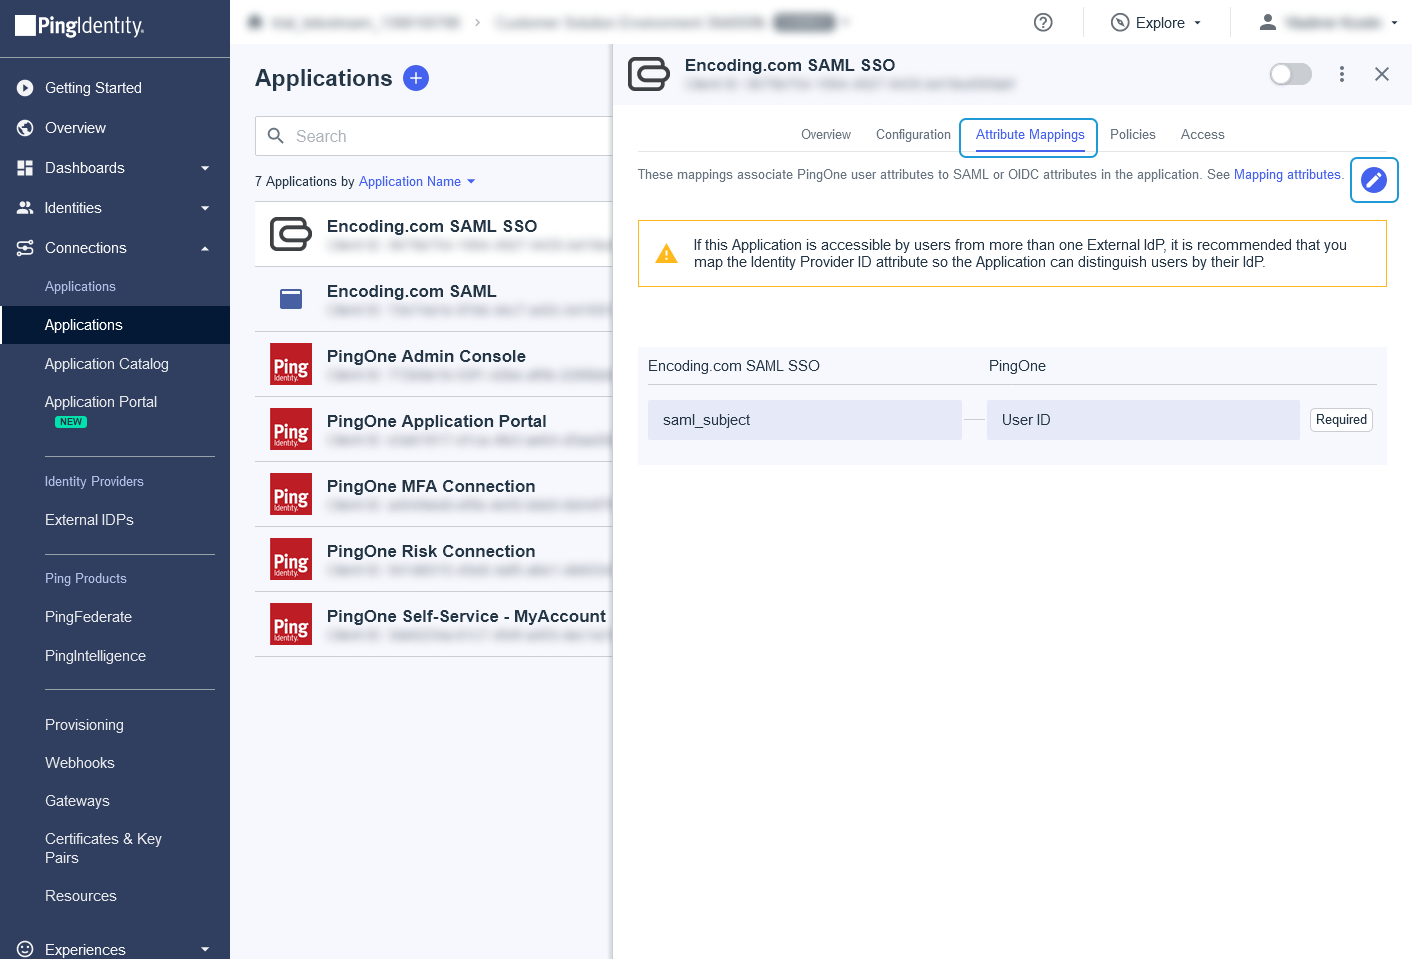
Next you need to set up attributes mapping.
Switch to the "Attribute Mappings" tab in the opened application details and click on the "Edit" button
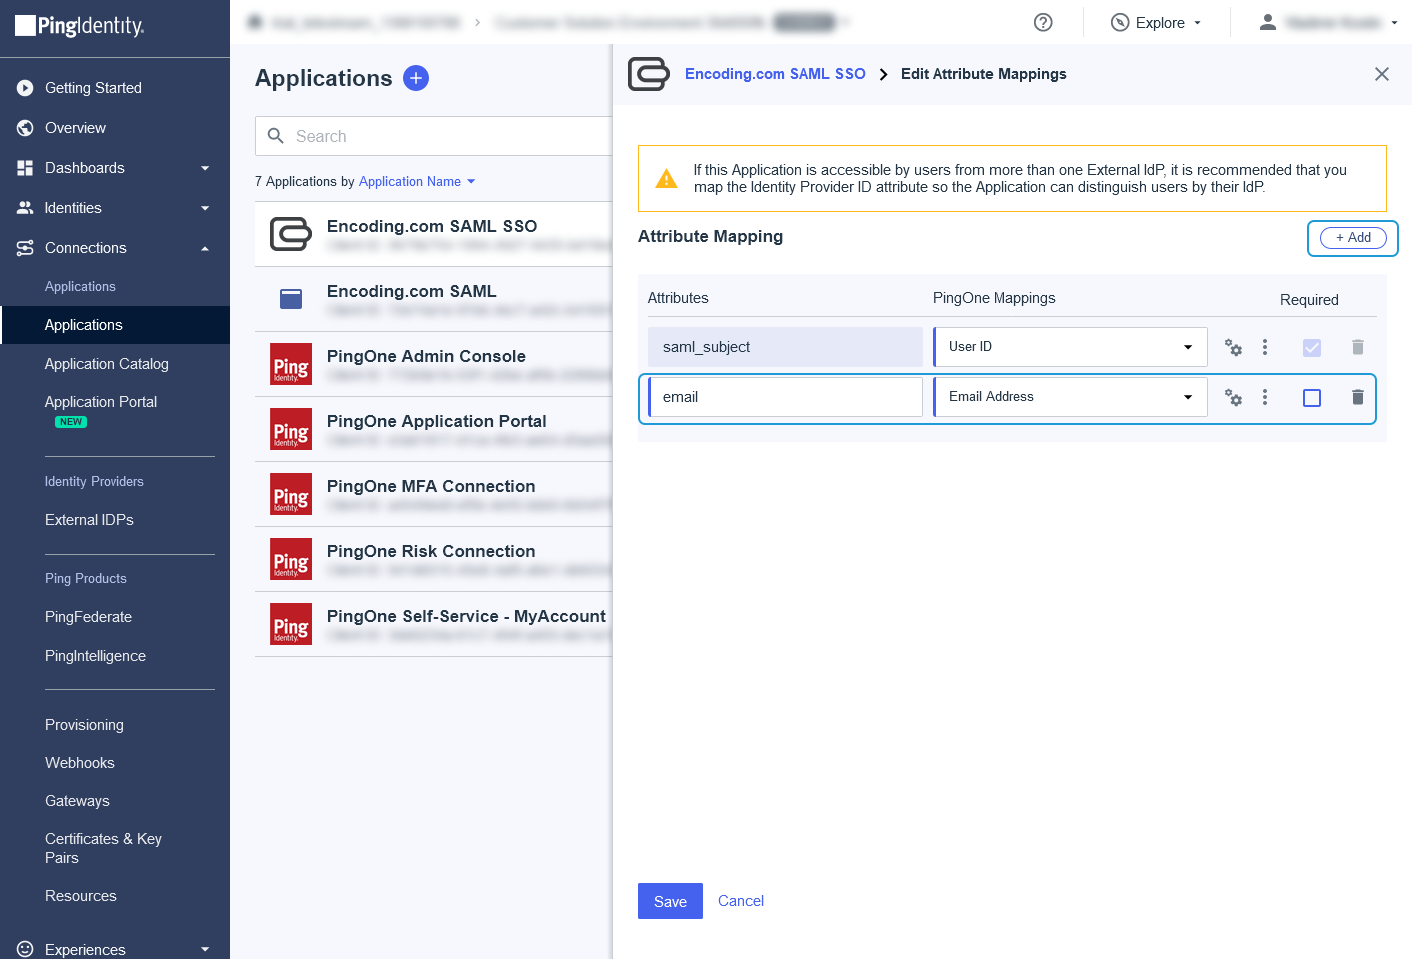
In the opened form click on the "Add +" button and add email mapping. It's required for successful authentication.
- "email" -> "Email Address"
Step 3.
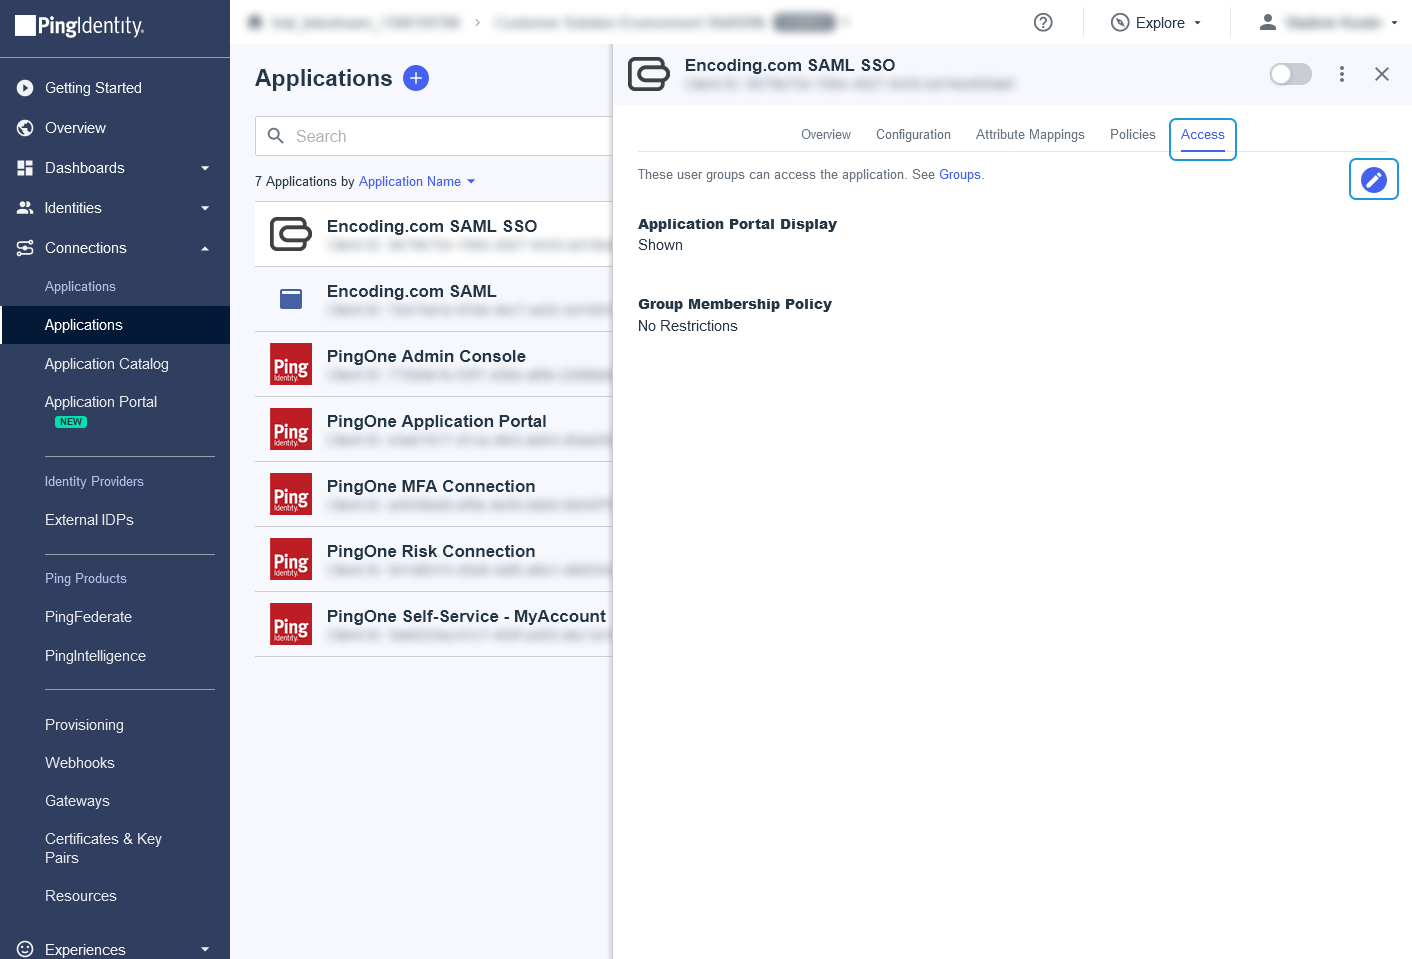
Now you can assign users to the application.
Switch to the "Access" tab in the application details dialog and click on the "Edit" button
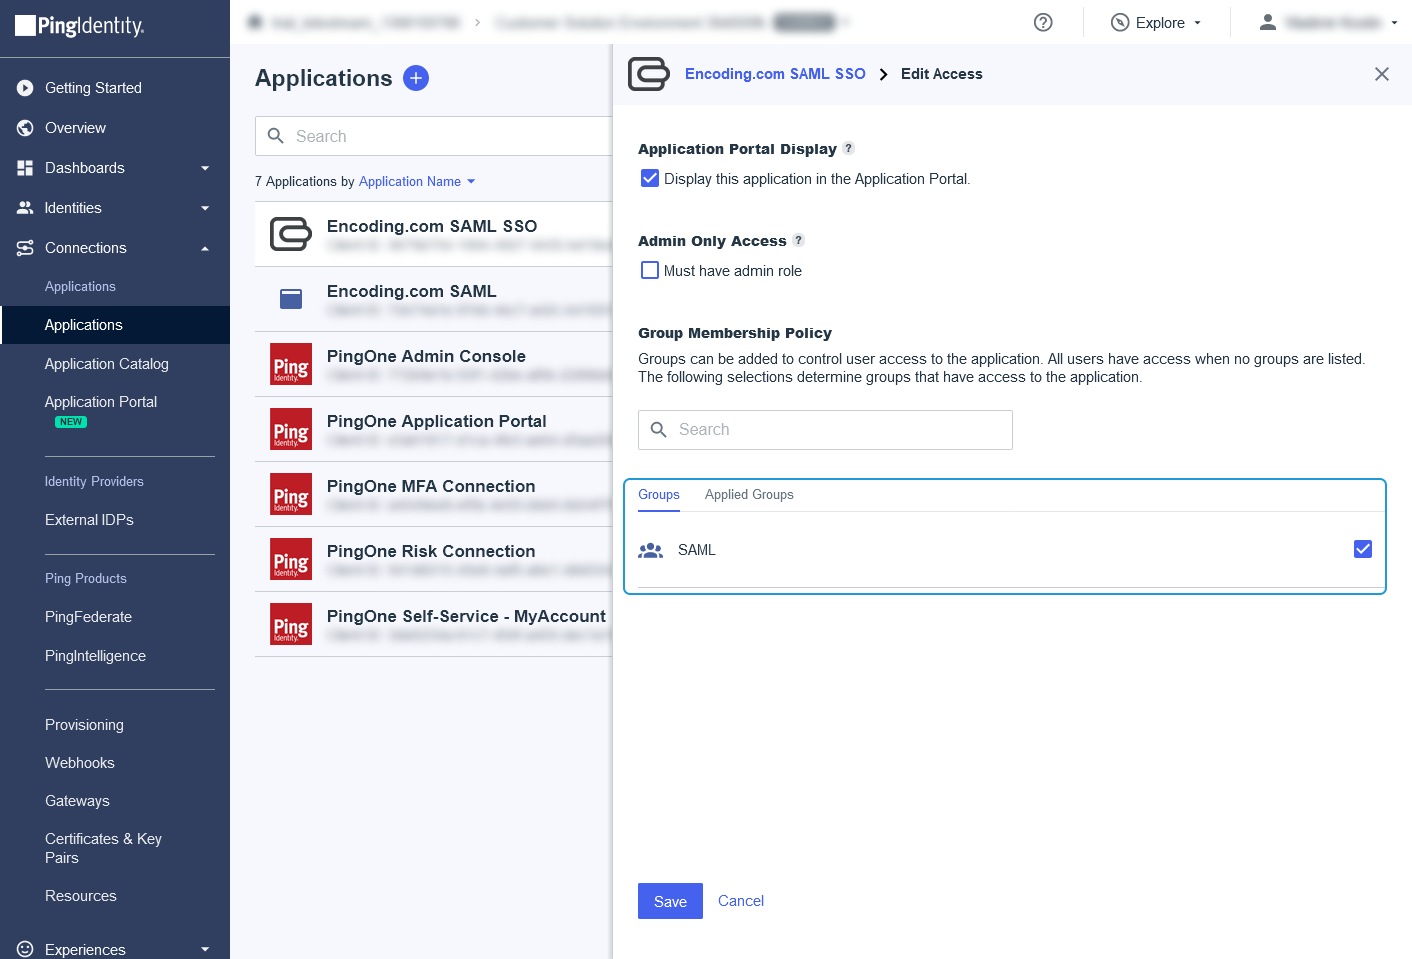
In the opened dialog select group of users to assign it to the application. Note, that this group on screenshot isn't bundled with application and was created separately.
Updated 8 days ago