Link Account in Encoding.com UI
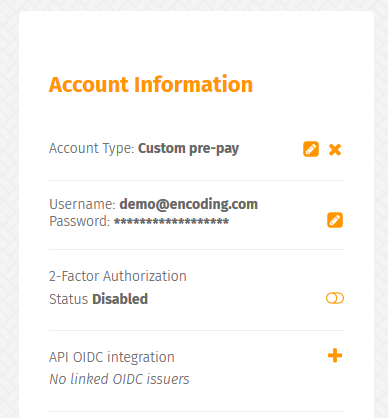
Go to the My Account page in the Encoding.com UI.
Next find "API OIDC integration" section and click on the "+" button to add a new OIDC integration (Identity Provider)

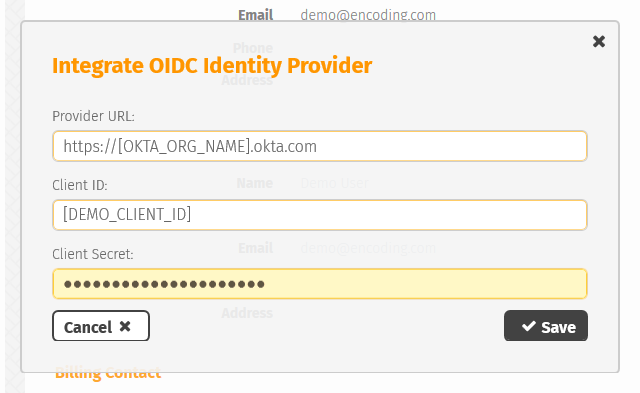
In the dialog form insert the following values:
- Provider URL – usually it's your Okta org hostname.
- Client ID – Client ID from your Okta OIDC Application
- Client Secret – Client Secret from your Okta OIDC Application

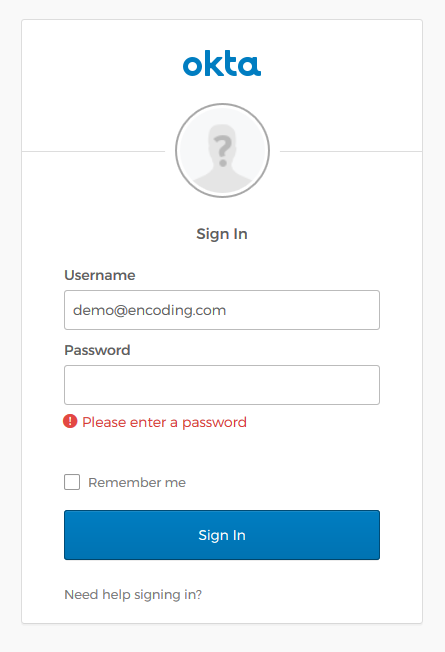
Next click the "Save" button and you will be redirected to the Okta sign-in form.
NoteForce Sign-on is required for security reasons. That's why you will see sign-in form even if you've authenticated in the Okta system already.

After successful authentication in the Okta system you'll be redirected back to the Encoding.com UI Account page.
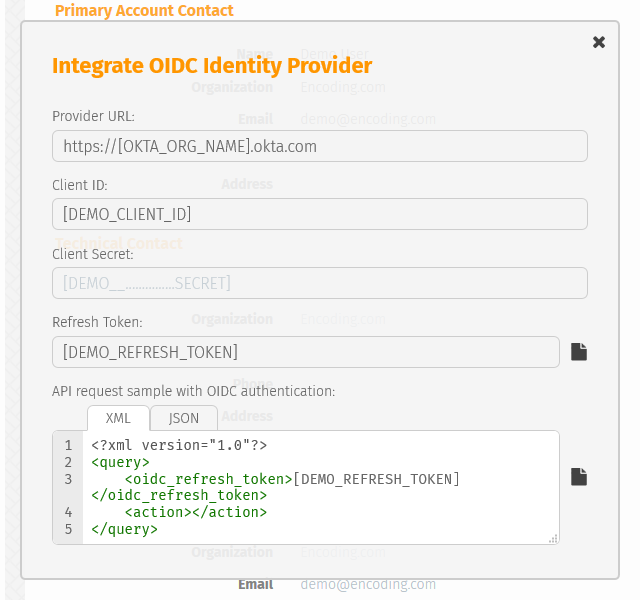
There you'll see dialog with your linked OIDC Identity Provider.

Updated 10 days ago